React Native Expo 안드로이드 앱 개발

2026.01.11
소개
지금 쓰고 있는 플래너가 기능은 좋으나, 디자인이 마음에 들지 않고, 자꾸 성가신 광고를 봐야 해서 나만의 플래너 앱을 만들어봤습니다.
진행 방법
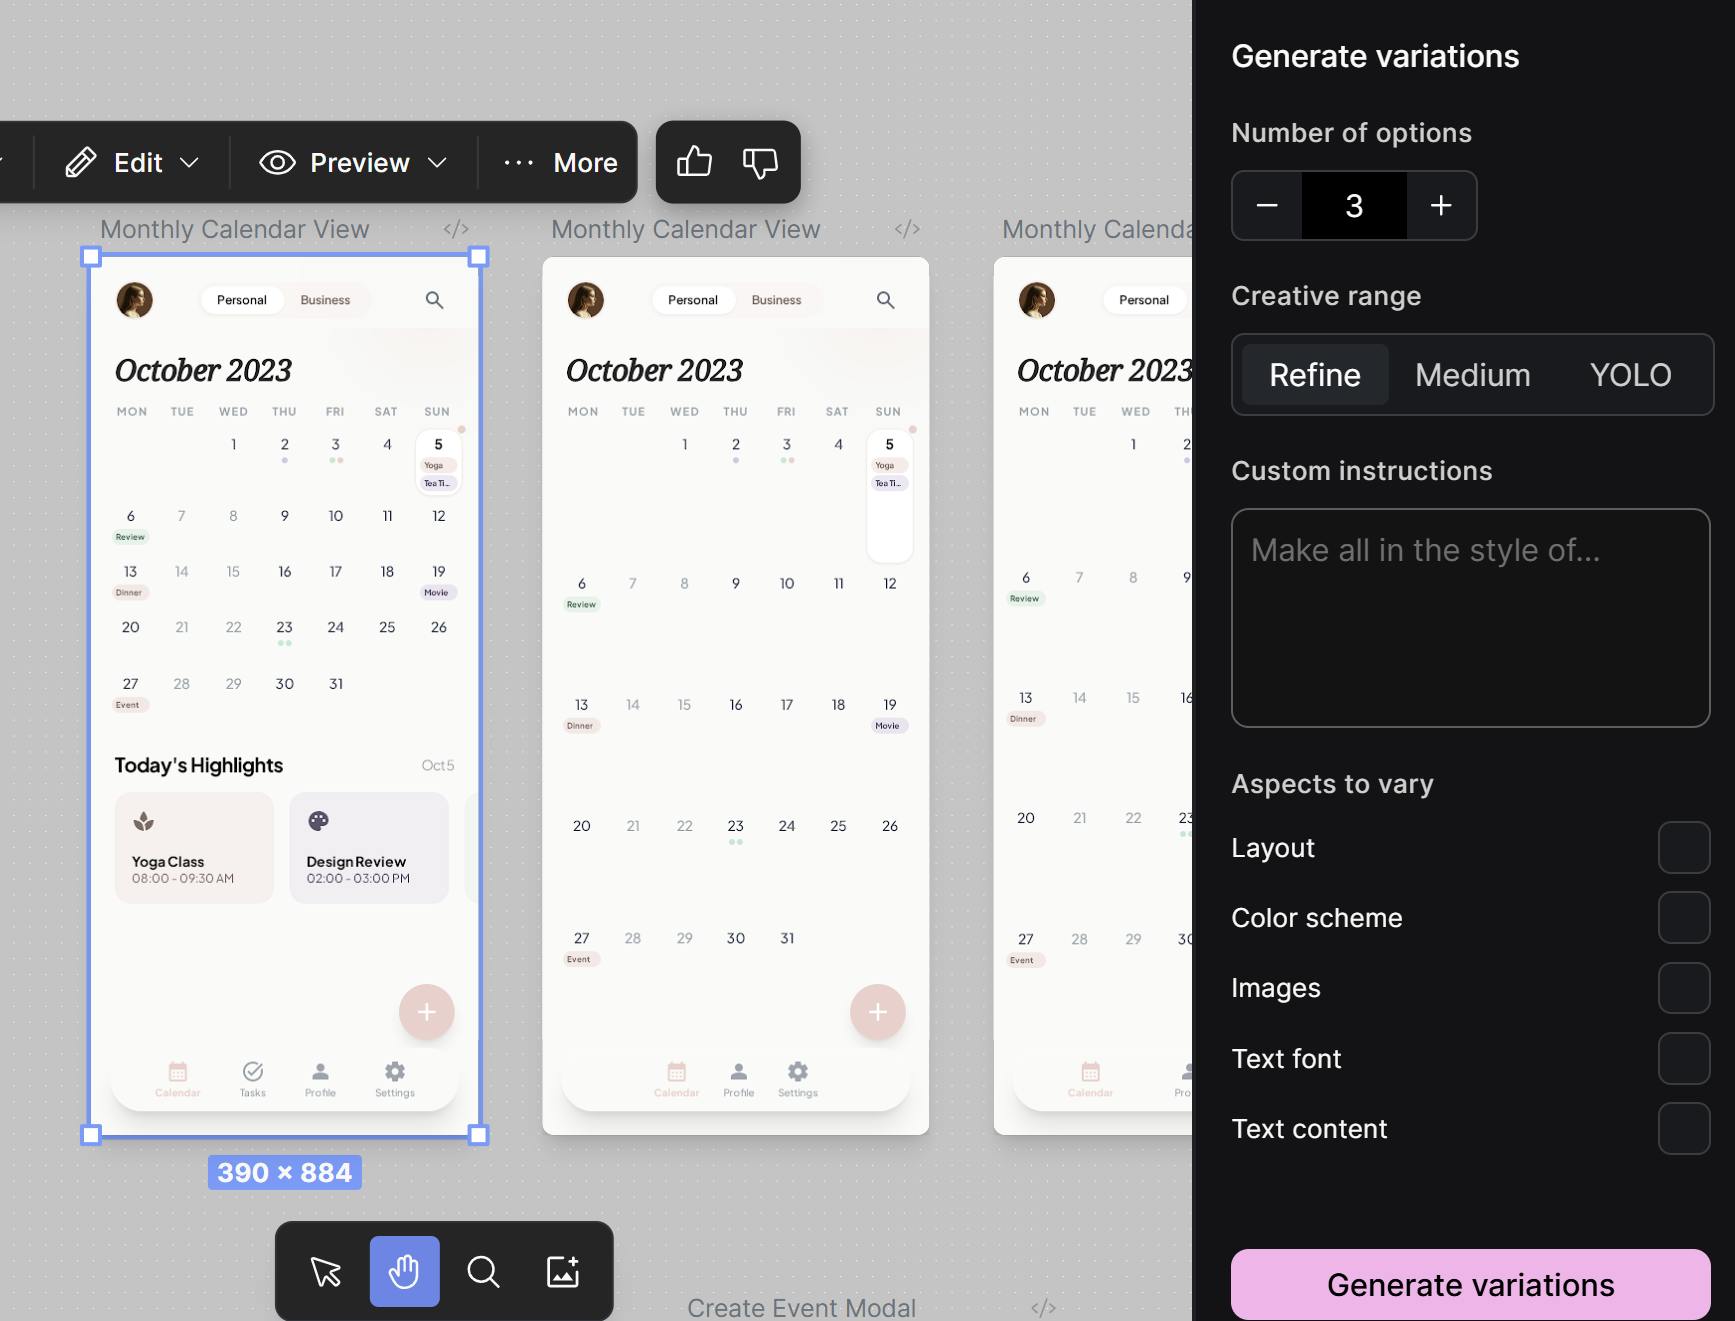
디자인은 Google stitch로 했습니다. 요구사항이 조금 많아서 프롬프트는 길게 썼습니다.
Design a feminine, lovely planner app. - Layout Primary view: Monthly calendar grid Top: Tab component with two tabs — “Personal” and “Business.” Below: tab bar for navigation; single-column calendar. - Style Aesthetic: Soft, feminine, lovely. Palette: Pastels (blush pink, lavender, soft blue, mint); ample white space. UI: Rounded corners (12–16px), subtle shadows, 8px spacing grid. Type: Friendly humanist sans for UI, elegant serif for headings. Components Tabs: “Personal” | “Business” with active/hover/disabled states. Calendar cell: Date, multiple event chips, overflow “+N.” Event chip: Pill shape, color-filled, icon + title, truncation. Event modal: Title, date/time, tab (scope), color picker (user-selected color), notes, Save/Cancel. Color picker: Presets + custom input. Filters: By color and scope (personal/business). Empty states: No events (illustration + CTA). Interactions & States Hover/pressed/focus for tabs, chips, buttons. Drag to create event on calendar. Keyboard focus rings for accessibility. Error/validation states in modal. Variants & Frames Provide Desktop (1440×1024) and Mobile (390×844). Light theme default; include quick dark-theme swatch. Deliverables Auto-layout throughout. Reusable components with variants (Tabs, Calendar Cell, Event Chip, Modal, Buttons). Color & type tokens, spacing scale, and icon set.이런 디자인이 나왔습니다. 마음에 들지만 하단의 today's highlight와 통계 메뉴가 필요하지 않아 Refine 했습니다.
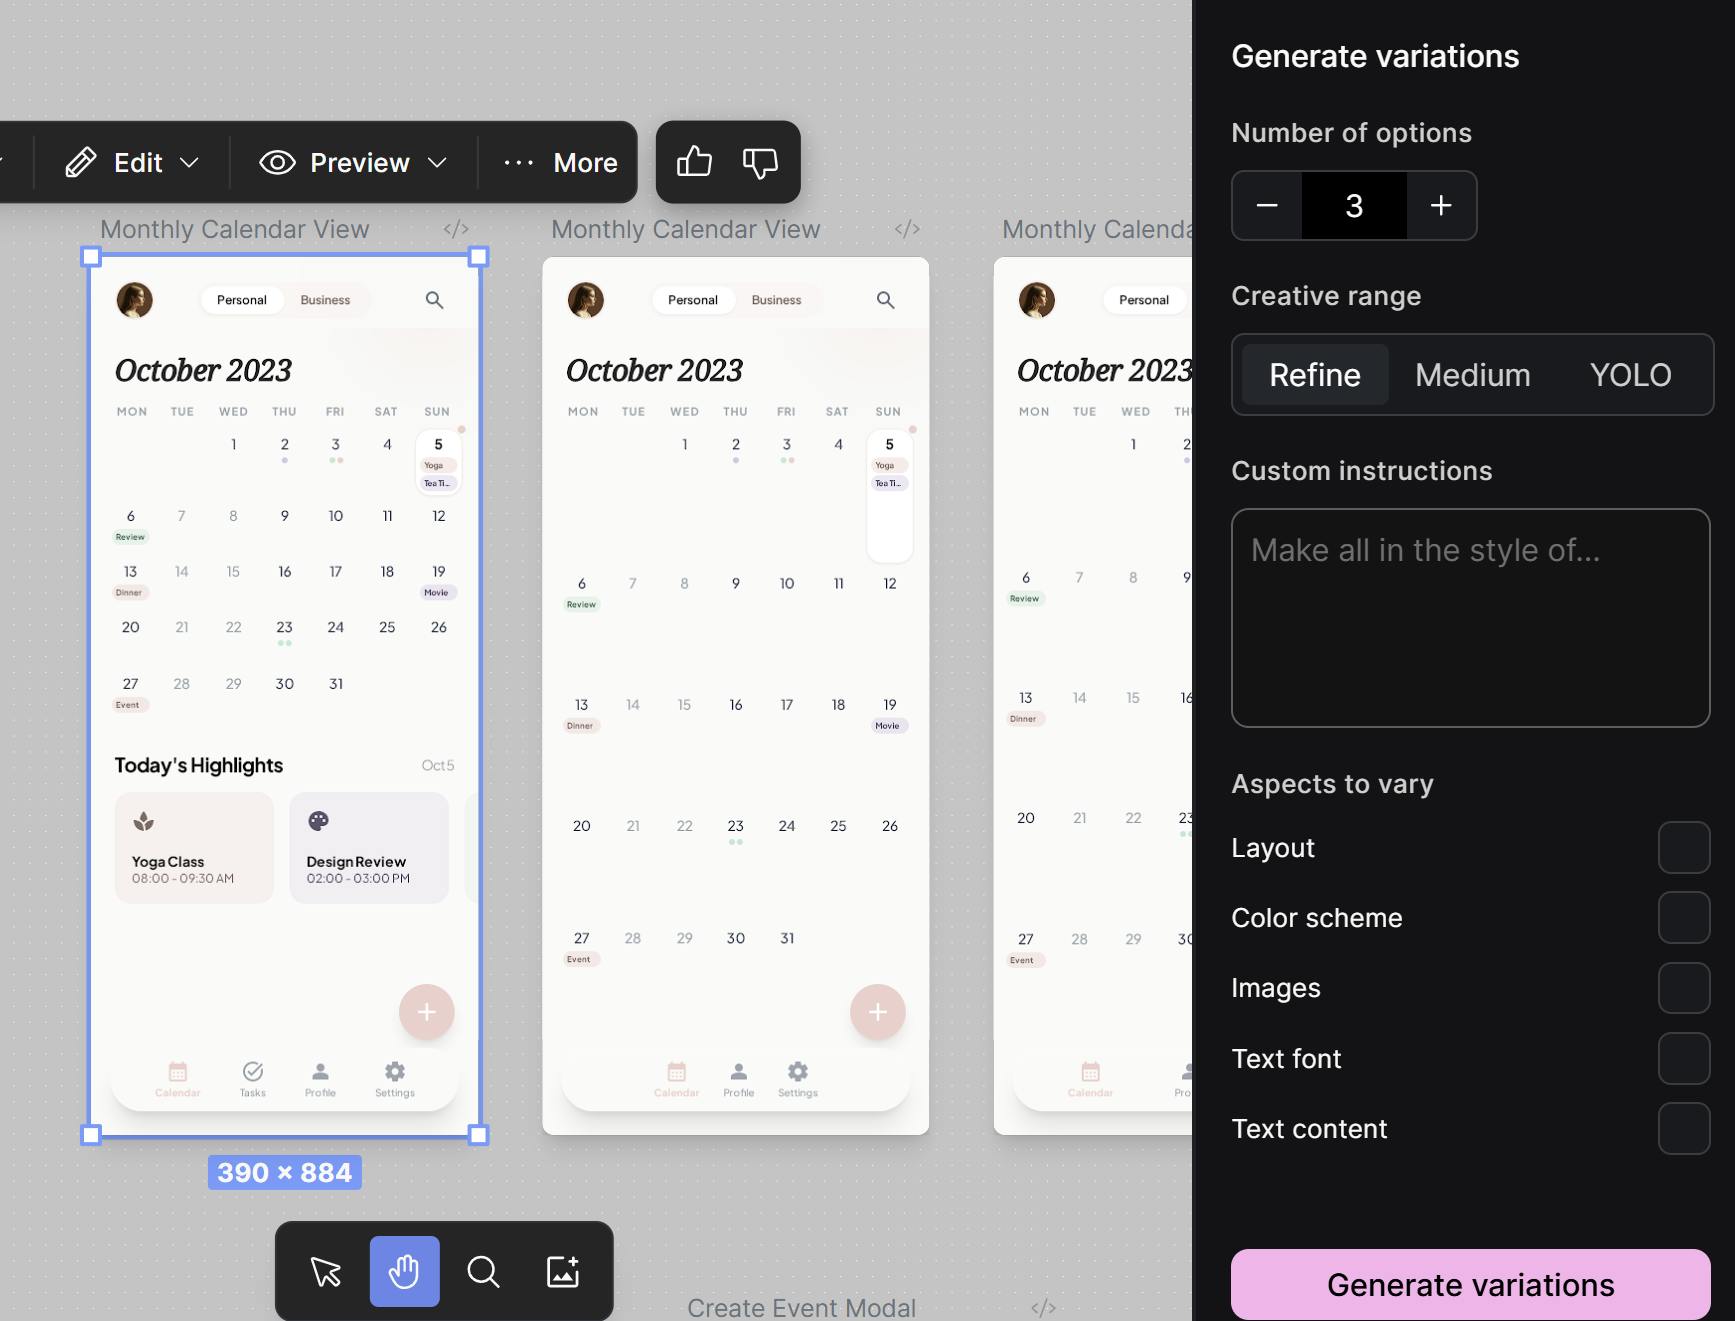
최종 디자인입니다. 화면 하나만 디자인했습니다.
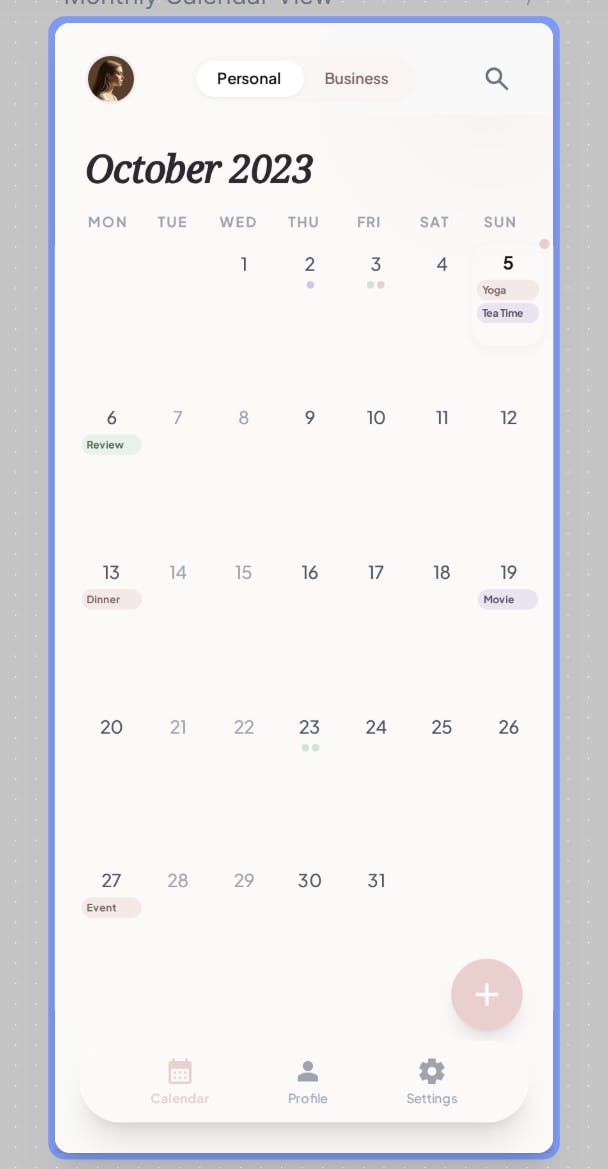
그리고 AI Studio로 export 했습니다.
앱을 만들었으나, 반응형이 아니어서 큰 화면에서 작게 보이길래 프롬프트를 한 번 더 썼습니다.
화면을 반응형 웹으로 만들어 줘. 나머지는 모두 그대로 두고.이렇게 잘 만들어졌네요.
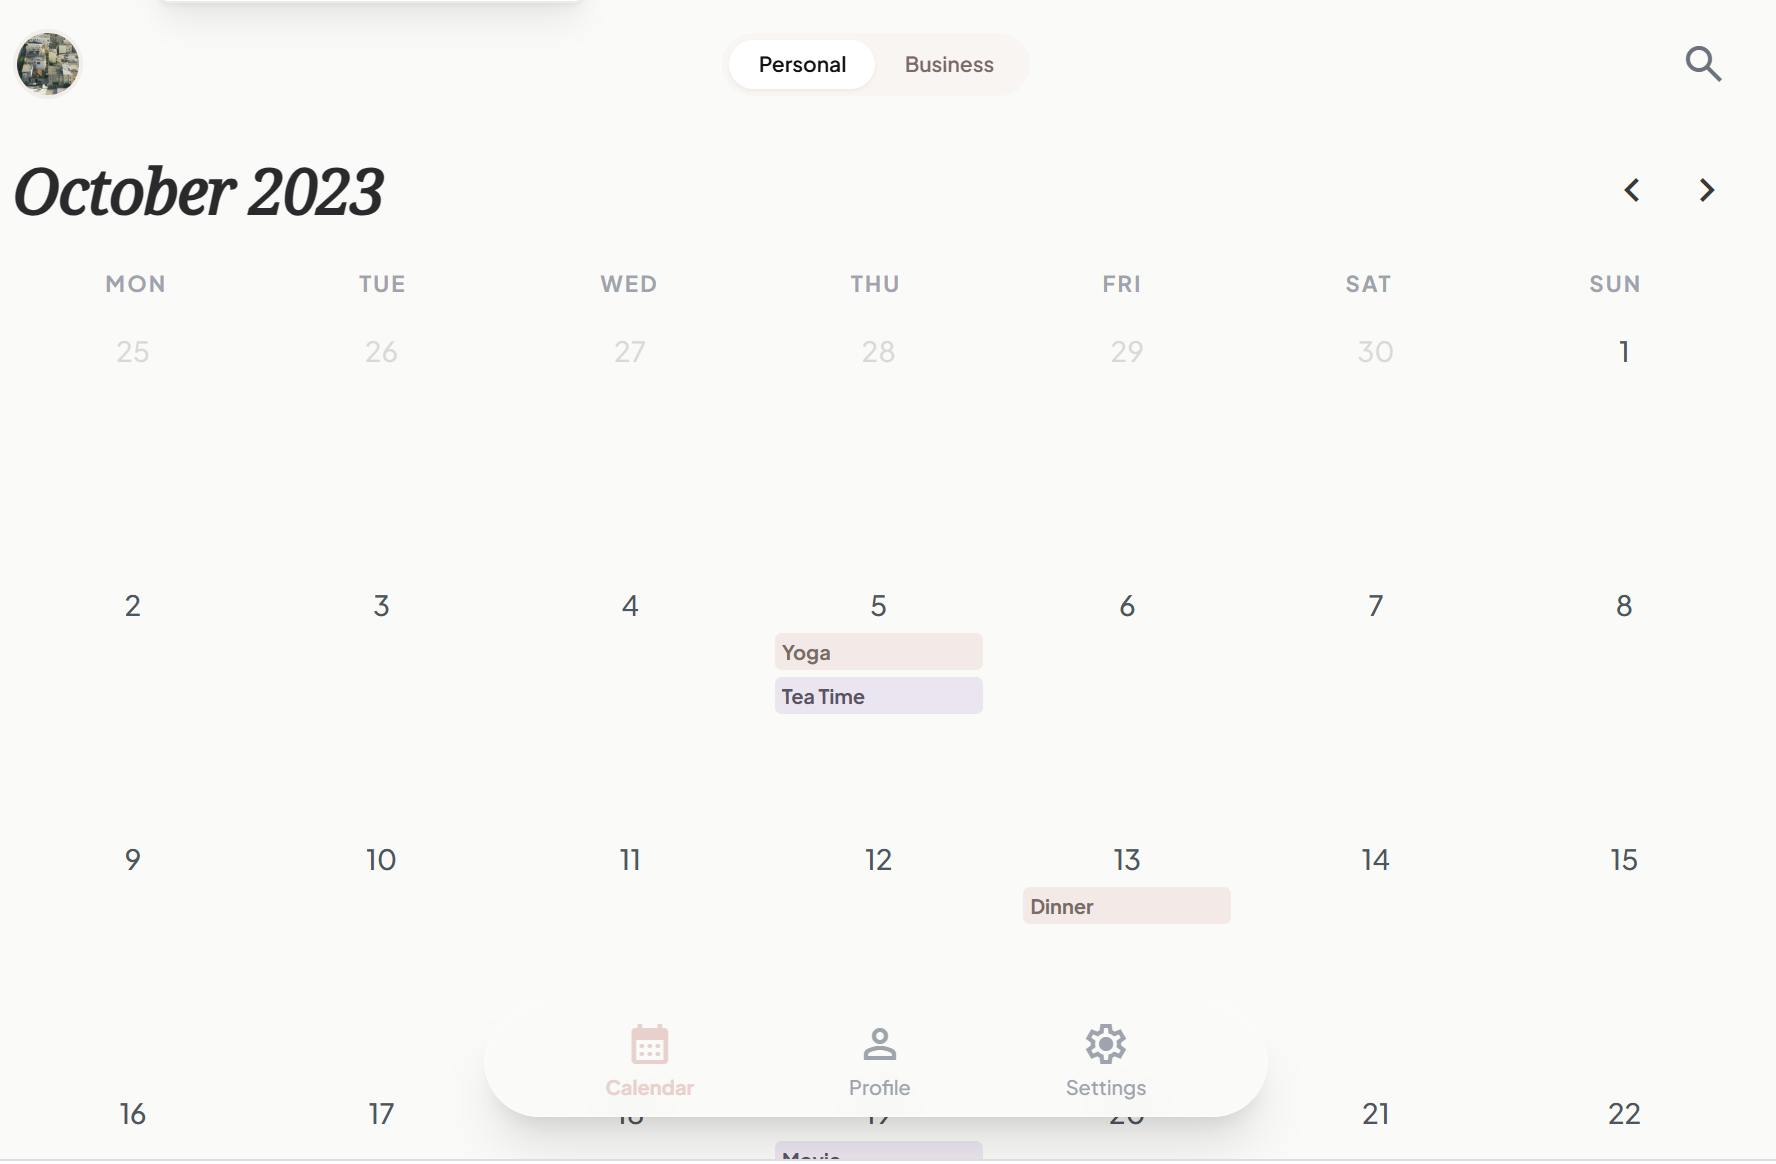
이것을 github 와 연동한 후, git clone 해옵니다. github 로그인이 안 되어 있어서 gh로 로그인부터 해야 했네요.
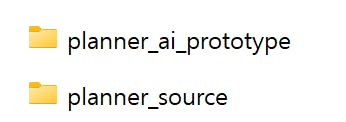
git clone 한 것은 planner_ai_prototype에 넣고 같은 폴더에 빈 소스코드 파일을 만듭니다.
그리고 두 폴더의 상위 폴더에서 claude code 실행~!
@planner_ai_prototype\ 폴더의 디자인을 사용해서 @planner_source\ 폴더에 React Native Android app을 구현해 줘.역시 plan 모드를 썼습니다. 명료하지 않은 부분에 대한 결정은 이렇게 했습니다.
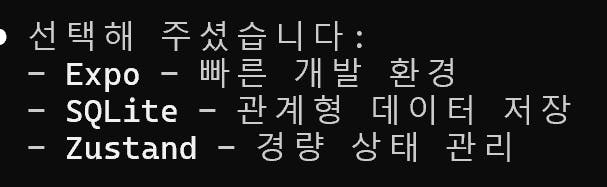
여기서 Expo Orbit을 설치하고
https://expo.dev/go?sdkVersion=54&platform=android&device=true
여기서 Expo Go 앱을 설치했습니다.
실행해보니 구현이 다 안되어 있어서 조금 수정했네요.
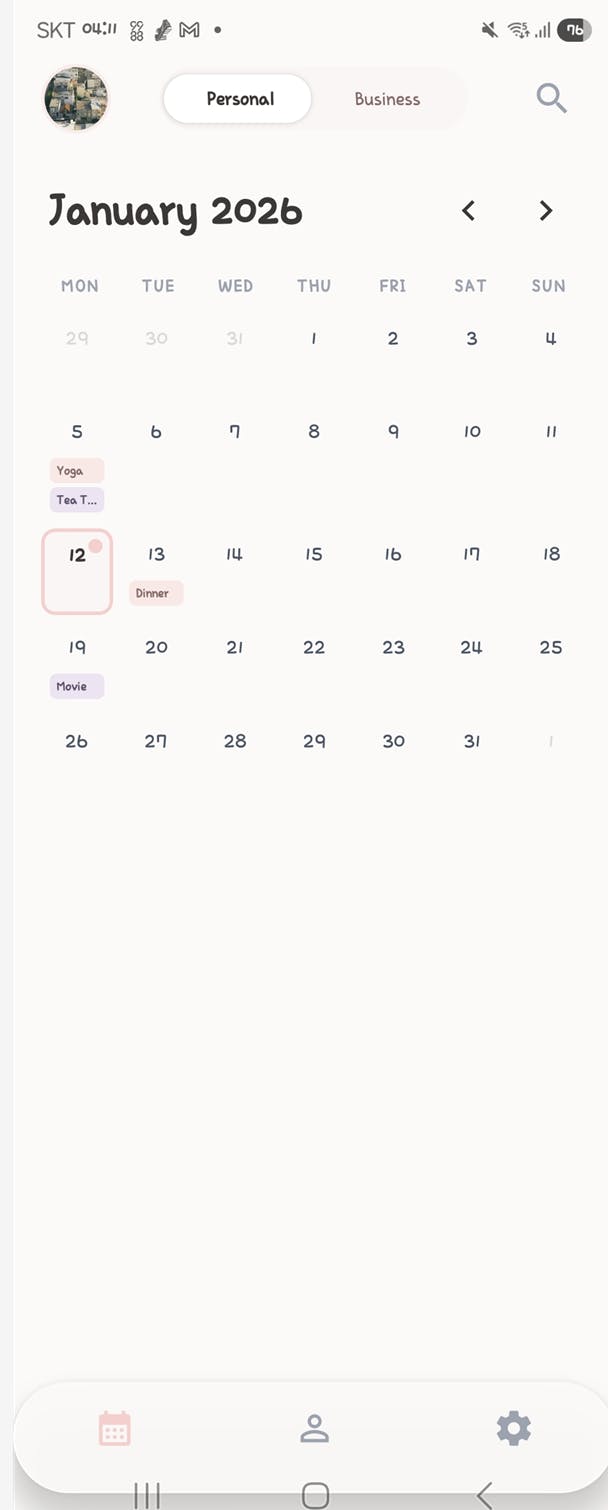
이런 플래너 앱이 만들어졌습니다.
캘린더 화면이 아래까지 꽉 차게 수정만 하면 되겠습니다.
결과와 배운 점
이제 화면을 수정하고, 추가 기능 개발 및 오류 수정하면 쓸 수 있겠습니다.

필요한 AI 정보만
메일함에 쏙쏙 넣어드려요.
지금 핫한 AI 소식부터 직접 해 본 사례까지, 월요일마다 무료로 받아보세요
멋집니다!
저는 식사와 운동, 활동량 등을 기록하고 추적하는 걸 만들고 싶은데 비슷한 방식으로 하면 가능할지 궁금하네요.
앗, 헬스 관련 앱이군요. 사용자가 직접 식사 등을 입력하게 한다면 flutter든, React Native + Expo든 모두 가능합니다.