[1주차OT과제]간단한 서버 예제

란이뉨
2026.07.26
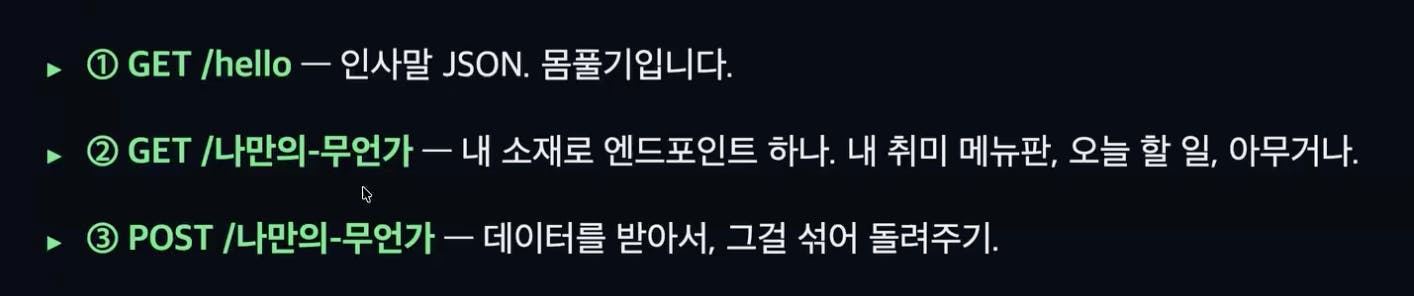
소개
수업한 것 실습.
Node.js와 Express 5.x를 사용해 간단한 REST API 서버를 만들기.
진행 방법
프로젝트 초기 설정
mkdir my-server && cd my-server
npm init -y
npm install express@^5.2
npm install -D typescript @types/node @types/express tsx
서버 코드 전문 (src/server.ts)
import express, {
  type Request,
  type Response,
  type NextFunction,
} from "express";

const app = express();
const PORT: number = Number(process.env.PORT ?? 8888);

app.use(express.json());

// ------------------------------------------------------------------
// ① GET /hello — 몸풀기용 인사말 JSON
// ------------------------------------------------------------------
app.get("/hello", (_req: Request, res: Response): void => {
  const payload: { message: string; timestamp: string } = {
    message: "안녕하세요! 저의 첫 Node.js 서버입니다.",
    timestamp: new Date().toISOString(),
  };
  res.json(payload);
});

// ------------------------------------------------------------------
// ② GET /my-hobby — 내 취미 메뉴판
// ------------------------------------------------------------------
interface HobbyMenuItem {
  name: string;
  description: string;
}

const hobbyMenu: readonly HobbyMenuItem[] = [
  { name: "코딩", description: "매일 새로운 문제를 풀어보는 시간" },
  { name: "러닝", description: "주말 아침 한강 러닝" },
  { name: "독서", description: "기술 서적과 소설을 번갈아 읽기" },
];

app.get("/my-hobby", (_req: Request, res: Response): void => {
  res.json({ hobbies: hobbyMenu });
});

// ------------------------------------------------------------------
// ③ POST /my-hobby — 데이터를 받아서 섞어서(shuffle) 돌려주기
// ------------------------------------------------------------------
interface MixRequestBody {
  items?: unknown;
}

function shuffleArray<T>(input: T[]): T[] {
  const result: T[] = [...input];
  for (let i = result.length - 1; i > 0; i--) {
    const j: number = Math.floor(Math.random() * (i + 1));
    [result[i], result[j]] = [result[j], result[i]];
  }
  return result;
}

app.post(
  "/my-hobby",
  (req: Request<unknown, unknown, MixRequestBody>, res: Response): void => {
    const { items } = req.body;

    if (!Array.isArray(items)) {
      res.status(400).json({
        error: "요청 본문에 배열 형태의 'items'가 필요합니다.",
        example: { items: ["코딩", "러닝", "독서"] },
      });
      return;
    }

    const mixed: unknown[] = shuffleArray(items);
    res.status(201).json({ original: items, mixed });
  },
);

// ------------------------------------------------------------------
// 존재하지 않는 라우트 처리 (404)
// ------------------------------------------------------------------
app.use((_req: Request, res: Response): void => {
  res.status(404).json({ error: "요청하신 경로를 찾을 수 없습니다." });
});

// ------------------------------------------------------------------
// 전역 에러 핸들러
// ------------------------------------------------------------------
app.use(
  (err: Error, _req: Request, res: Response, _next: NextFunction): void => {
    console.error(err);
    res.status(500).json({ error: "서버 내부 오류가 발생했습니다." });
  },
);

app.listen(PORT, (): void => {
  console.log(`서버 실행 중: http://localhost:${PORT}`);
});
실행 및 테스트
npx tsx src/server.ts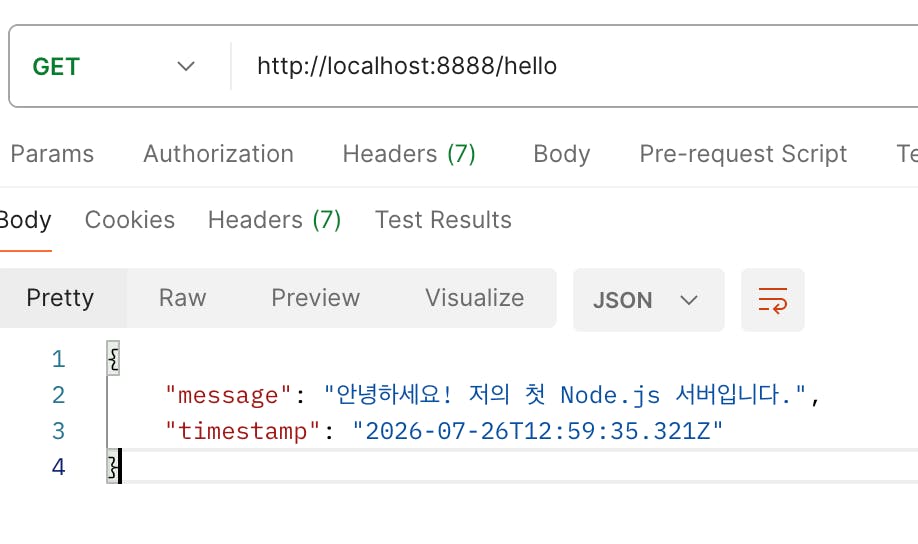
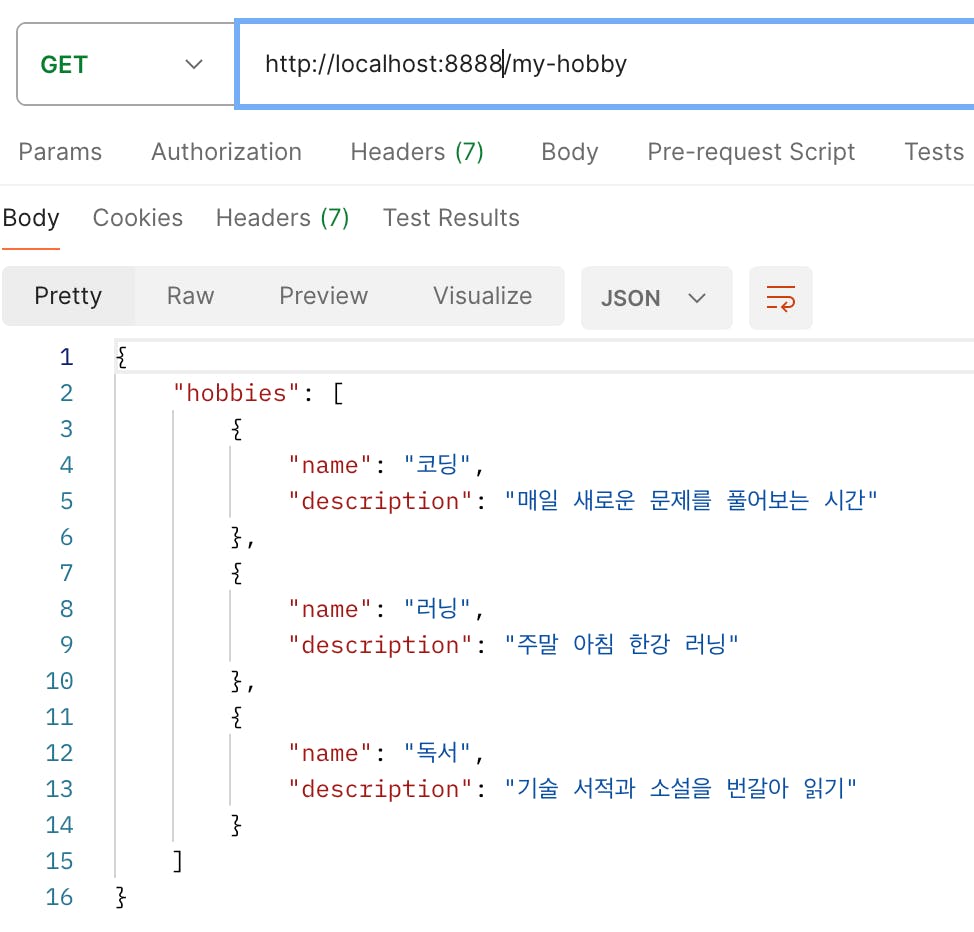
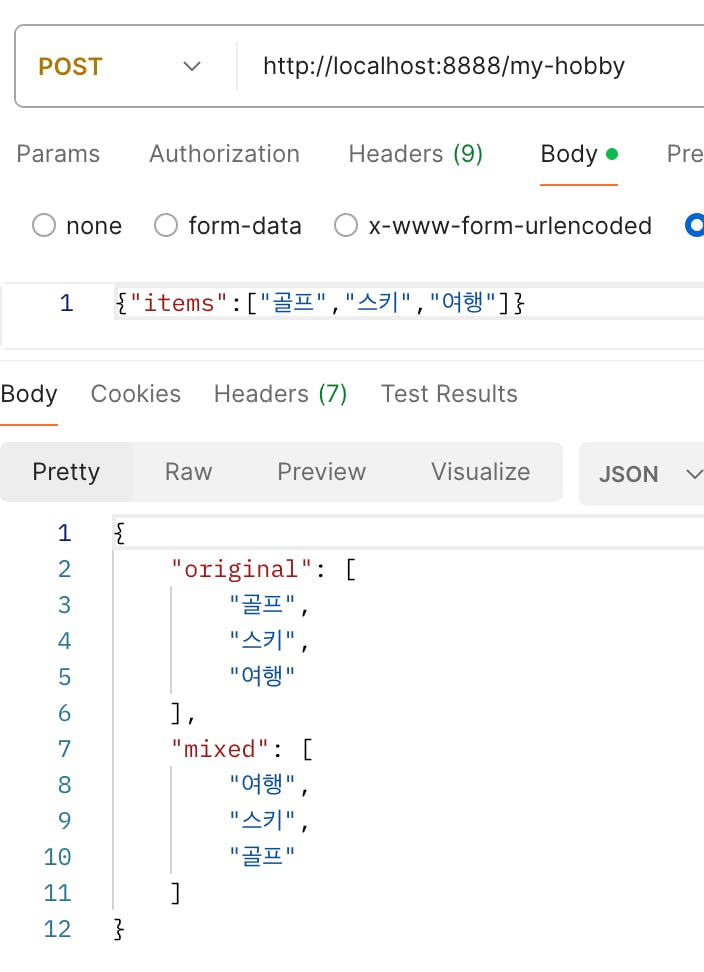
결과와 배운 점
도움 받은 글 (옵션)

필요한 AI 정보만
메일함에 쏙쏙 넣어드려요.
지금 핫한 AI 소식부터 직접 해 본 사례까지, 월요일마다 무료로 받아보세요

Express 5.x와 TypeScript로 프로젝트 초기 설정부터 서버 실행까지 직접 구성하신 과정이 깔끔하게 잘 정리되어 있네요. GET·POST 라우트뿐 아니라 잘못된 요청에 대한 400 응답, 존재하지 않는 경로의 404 처리, 전역 에러 핸들러까지 담아 간단한 예제 안에서도 서버의 기본 흐름을 꼼꼼히 구현하신 점이 인상적입니다. `shuffleArray`로 취미 데이터를 섞어 반환하도록 구성해 예제가 한층 구체적으로 느껴졌습니다.